How To Make Your Own Custom Stamps
Do you want to learn how to make your own custom stamps? Something that you have designed and want to use?
It might be for the office, especially if you work from home, or something a little more creative.
You might make something at home and instead of writing something or even drawing something having a stamp there ready can save you a lot of time, with very little work to get the stamp perfect and just the way you want it!
I just want to say thank you to Silhouette Mint for working with me on this sponsored post! As always, all opinions are 100% my own!
Create Your Own Stamp
I want to show you how simple and easy it is to create your own stamps! This post for me is heavy on pictures so a lot easier to show you rather than trying to explain without the images!
I decided to show you how I create my first couple of stamps and how really easy and simple it is using the Silhouette Mint!
This is something that I can see me using a number of occasions to make certain aspects of my business easier!
How To Use The Silhouette Mint
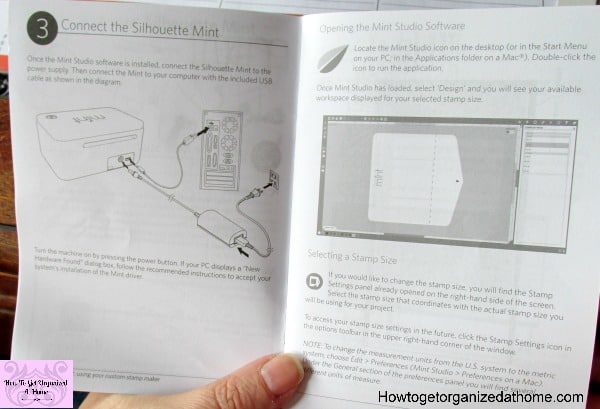
You need to open the software on your computer, you can either download this from the disc provided when you got your Silhouette Mint or download it straight from the Silhouette site.
You must choose the size of your stamp first, while it’s really simple to work out the sizes I think it would make life a lot easier if the size was on the card.
You then need to create your design so it fits onto the white shape for your stamp!
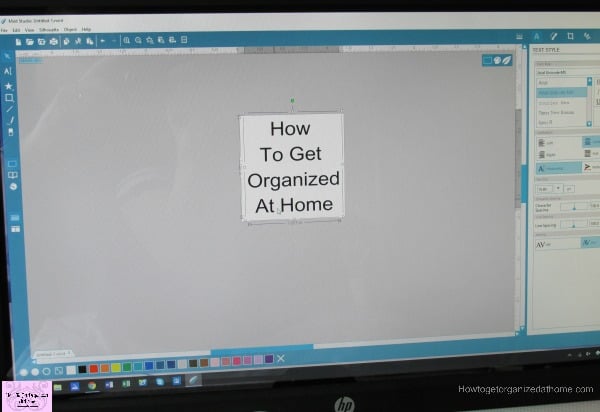
You can drag your images around and make them larger and smaller until you feel that it’s the right size for the stamp.
Printing Your Stamp
When you are ready to print your stamp, click the icon in the corner that is the Silhouette Mint sign, this will take you to the screen to actually print your stamp!
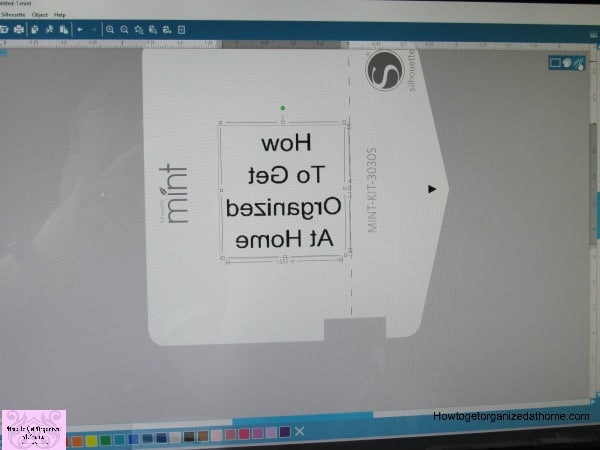
When the stamp goes to print it automatically mirrors the image so that when you stamp it’s the right way!
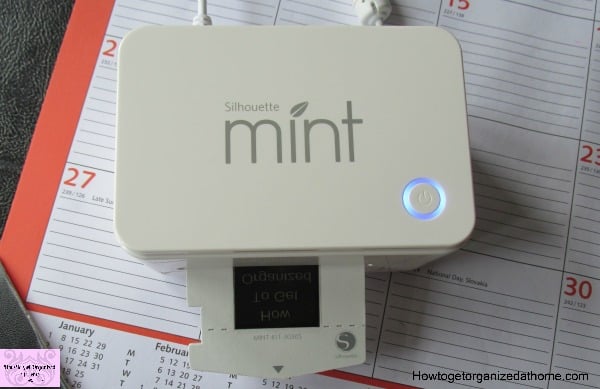
Turn on your Silhouette Mint and it should be ready, press the button at the top of the screen to start the process and feed your stamp sheet in from the back.
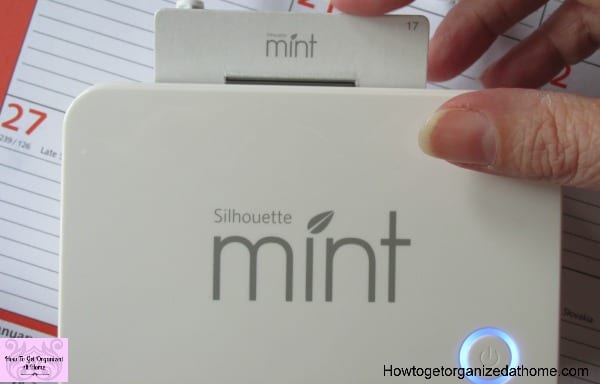
The completed stamp will come out the front!
You need to carefully remove the stamp from the cardboard and the plastic film on the top of it, this can be tricky!
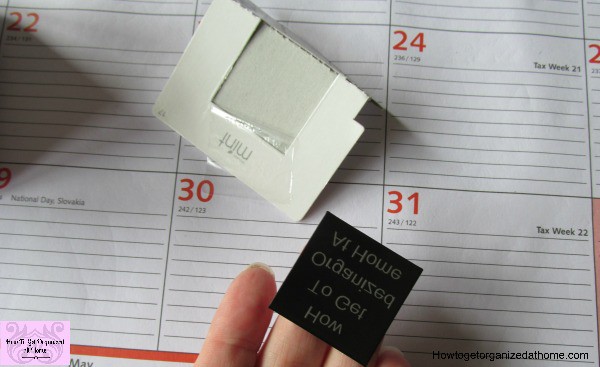
Remove the lid of the stamp pad, this is where the stamp will live and remove the paper cover to reveal the sticky surface which to stick your stamp too!
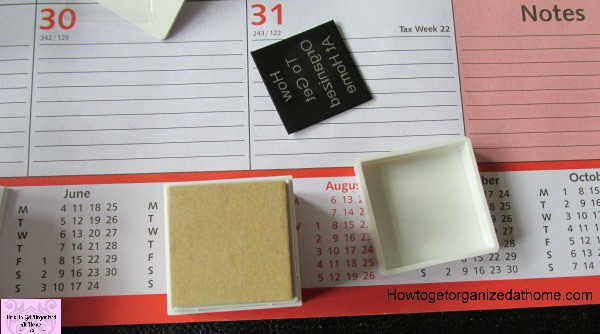
Now, it’s time to add the ink! I found this tricky I’m not good with squeezing out the ink at the same time applying it! I also found the nib of the ink bottles very wide, I think I might look for something that I can control the flow of the ink better!
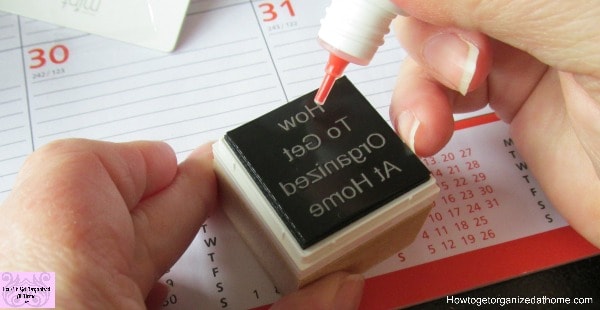
Yet, my husband had no issues doing the delicate work of adding the ink!
When you’ve added the ink you need to let it soak in for about 5 minutes then you are ready to stamp!
Remember to use a scrap piece of paper for the first couple of stamps as this is getting the pad to remove excess ink!
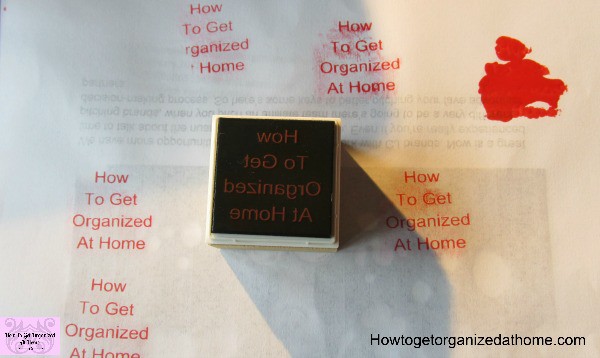
Then you are good to go!
Make Your Own Stamps
When it comes to creating your own stamps, you are limited by the size of the stamp, you are then able to create any design that you like, it really is only restricted by your imagination!
The first couple of stamps I really needed the instruction book sitting next to me, the instructions on the software are very limited and it is a bit of trial and error.
I would love to see more instructional videos on the software to show you exactly what you need to do.
I found that I was constantly looking for help and guidance and found very little in the actual program, but once I got used to how it worked I found that it was simple and straightforward.
It was just a bit of a learning curve at the beginning that made it difficult to work out!
A suggestion is to find some YouTube Videos and really look at what they are doing to show you how it works, it’s a great training tool and I think having some instruction on the software would have made the experience even better!
Affiliate links are included for your convenience. (Which means if you make a purchase after clicking a link I will earn a small commission which won’t cost you a penny more!) Click here to read my full disclosure and privacy policy.
- Grab your own Silhouette Mint and start creating your own stamps! If you are in the UK you can grab your Silhouette Mint here!
- If you need some supplies to help you create your stamps this is a great selection! Again, if you are in the UK you can get all the Silhouette Mint supplies that you need right here!
- Have you ever considered card making? I use the Cricut Explore Air 2 for all my card making activities!
Create Custom Stamps
I can see the usefulness of this machine and the software in a number of situations.
A few of the ideas are:
- Creating cards, create a stamp for your business logo and name
- A teacher who wants to identify their books that belong to the classroom
- A business owner who needs to address labels or needs a return address
- Someone who loves creating their own journals, you won’t need to write everything out each time it will mean just stamping things instead
- Creating a signature, so you don’t have to continually sign your name
The possibilities are endless and I really love the software, once I had played with it for a little while!
I’m really looking forward to making more stamps in the future, I think it’s a complete game changer when it comes to some of the things that you have to repeat, not only does it look more professional but it’s simple too!
If you are looking for something to change aspects of your business for the better I really think this is an option you need to consider!

