How to Organize a Paint by Numbers Hobby Space at Home: A Beginner’s Guide
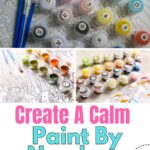
Organizing a hobby like painting by numbers doesn’t have to be difficult, especially when the hobby gives you so much pleasure.
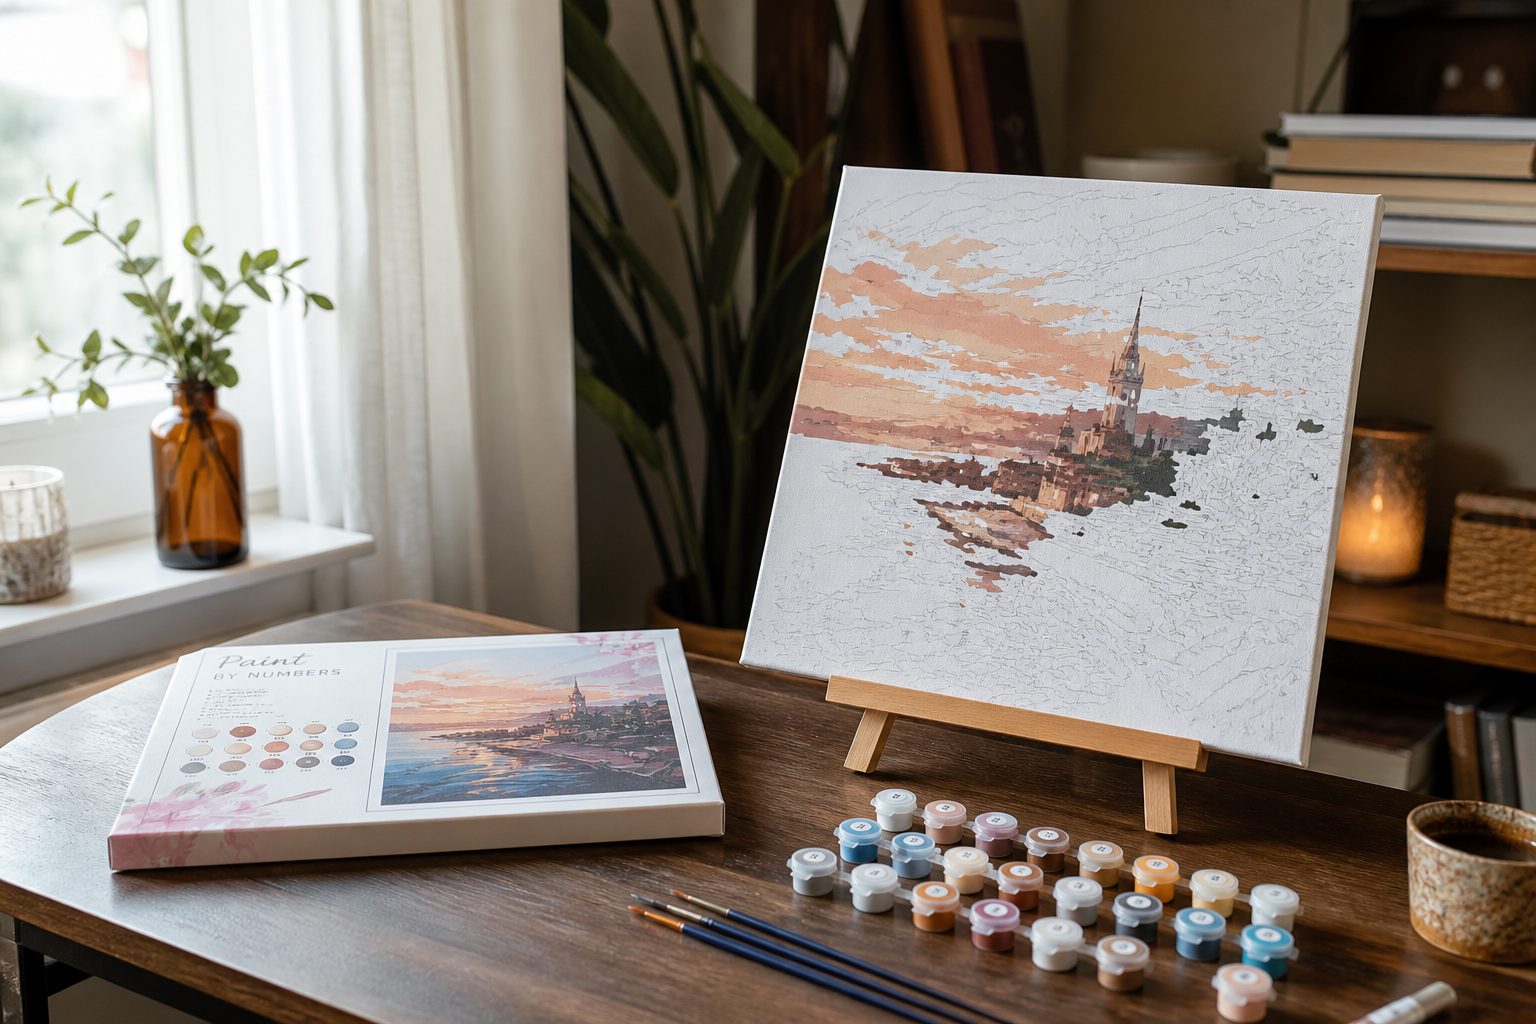
Why a Dedicated Paint by Numbers Space Makes Your Hobby Better
Paint by numbers has quietly become one of the most relaxing hobbies you can pick up at home. It asks very little of you: a small canvas, a few brushes, and some quiet time. Because each area is already mapped out for you, there’s no pressure to be a trained artist. You simply match the number, fill in the space, and watch a picture slowly come to life. It’s a calm, low-clutter activity that fits into busy modern homes without taking over your living room.
Affiliate links are included for your convenience. (This means if you purchase after clicking a link I will earn a small commission which won’t cost you a penny more!) Click here to read my full disclosure and privacy policy.
The secret to enjoying it even more is how you set things up. Having a well-organized paint by numbers setup keeps supplies tidy and stress-free, so you spend your time painting instead of hunting for a missing brush or a dried-out pot. When everything has a home, sitting down to paint feels effortless.
A thoughtful space does more than keep things neat. It supports the mental benefits that make this hobby so rewarding: Focus: A clear area helps your mind settle into the task without distractions. Relaxation: Repetitive brushwork can ease tension and slow a racing mind. Accomplishment: Watching your progress builds a steady sense of pride.
You don’t need a whole studio to get these rewards. A small, intentional setup cuts down on frustration and prevents lost supplies, which are the two things that usually drain the joy out of a project.
The best part is that space can be tiny. Even a quiet corner of a bedroom, office, or dining area can become your personal creative zone with just a little planning.
Choosing the Right Spot and Setting Up Your Workspace
Before you dip a single brush into paint, take a moment to think about where you’ll actually work. The right setup makes painting more enjoyable and helps your results turn out better.
Start with lighting. Natural daylight is your best friend because it shows colors as they truly are. Try to position your workspace near a window that gets steady, indirect light. If sunlight isn’t reliable in your home, a bright adjustable lamp with a daylight bulb does the job nicely. Point it so it lights your canvas evenly without casting shadows from your hand.
Next, look at your table and seating. A surface at around waist height when you’re seated tends to feel comfortable and keeps your arms relaxed. Protect your table with a plastic sheet, old newspaper, or a wipeable mat, since drips happen even to careful painters.
Keep these ergonomic tips in mind: Sit in a chair that supports your back so you can paint for a while without aches Prop your canvas at a slight angle using an easel or a stack of books, which reduces neck strain Keep your most-used supplies within easy reach to avoid twisting or stretching
Because acrylic paints can give off mild fumes, work in a room with good ventilation. Cracking a window or running a fan keeps the air fresh.
Finally, choose a low-traffic corner where curious pets, kids, or passing elbows won’t smudge a drying canvas. Since many kits let you use a color preview feature to see exactly how your finished piece will look before ordering, you can plan your space and setup around the design you’re excited to create.
Organizing Your Paint by Numbers Supplies
A little organization goes a long way toward making your painting sessions relaxing instead of frustrating. When your supplies have a clear home, you spend less time searching and more time creating.
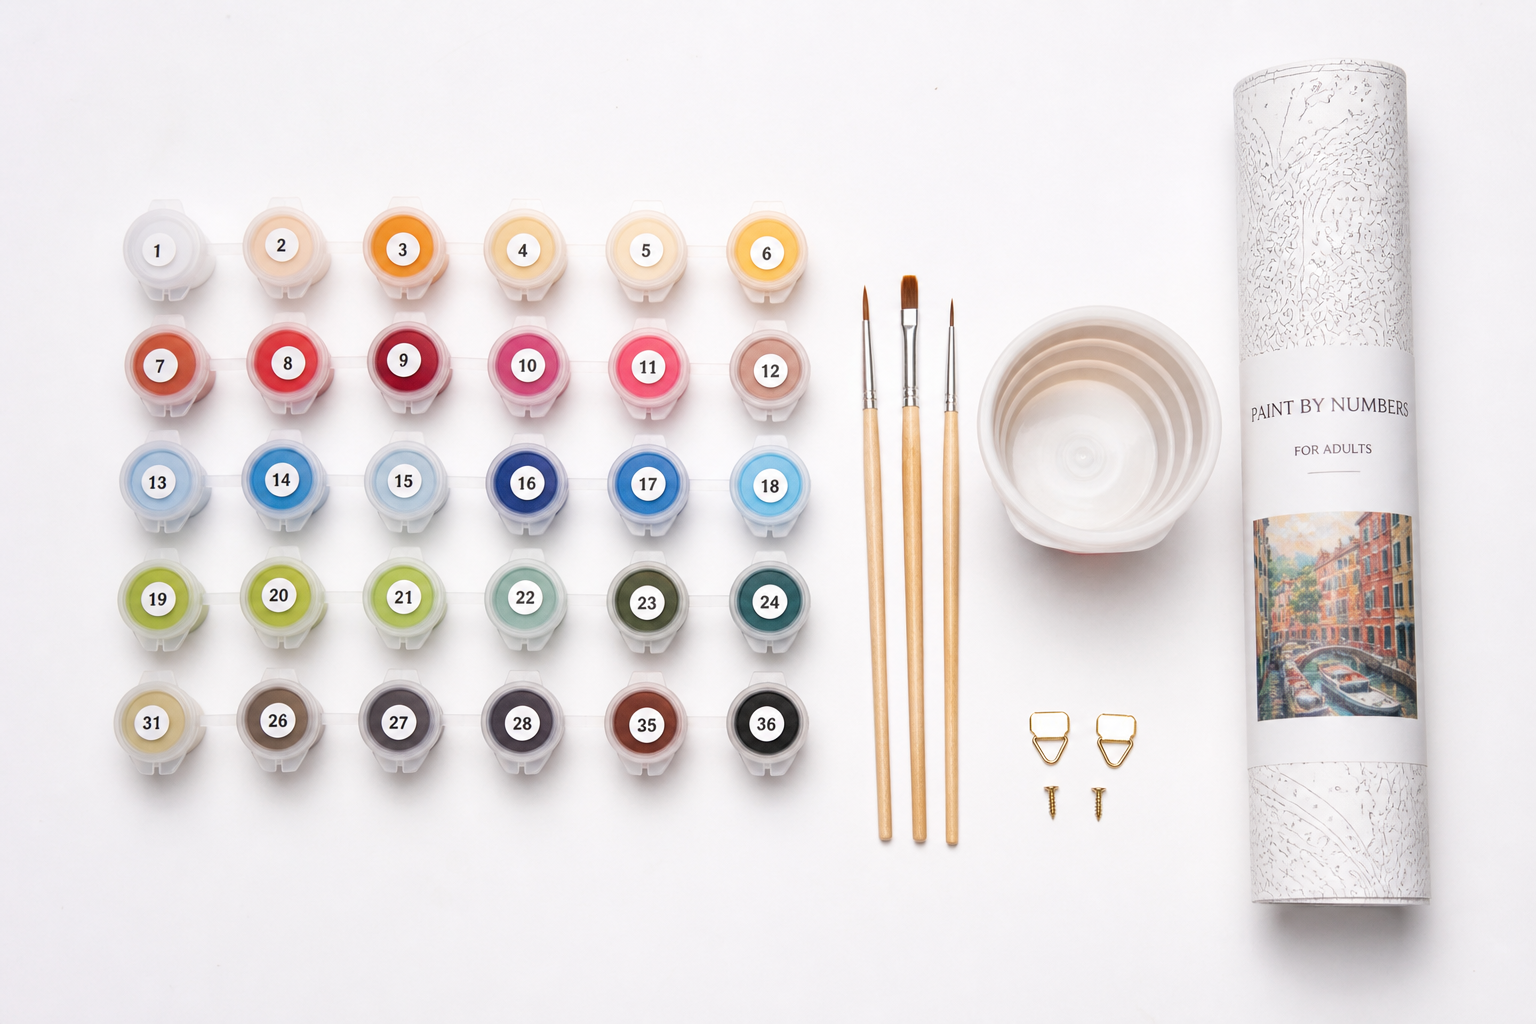
Start with your paint pots. Arranging them in numerical order inside a shallow tray or a small parts organizer means you can grab the right shade instantly. This simple habit keeps your workspace calm and prevents mix-ups mid-project.
Your brushes deserve care too. Store them upright in a cup or jar with the bristles pointing up so they hold their shape and dry properly. Keep a separate brush cleaning cup filled with water within arm’s reach so you can rinse quickly between shades.
Paint drying out is one of the most common annoyances, but it’s easy to prevent and fix: Seal each pot tightly after every session and press the lids down firmly. Label your pots if the numbers wear off, so you always know which is which. Troubleshooting a dried or thick pot: add one or two drops of water and stir gently with a toothpick. This brings the paint back to a smooth, workable texture without weakening its coverage.
Protect your canvas and reference sheet as well. Keep them flat on a clean surface, or roll the canvas loosely if you need to store it. Many kits, including those from Davincified, arrive in protective tube packaging that keeps the canvas crease-free until you’re ready to begin.
Finally, build a quick clean-up routine: rinse brushes, cap your pots, and wipe your area. A tidy setup means you’ll always feel ready to pick up the brush again.
Maintaining Your Space and Building a Sustainable Painting Routine
A little care between sessions keeps your painting habit fun and frustration-free. When you finish for the day, take five minutes for a quick reset ritual. Rinse your brushes in clean water, gently reshape the bristles, and lay them flat to dry. Seal your open paint pots tightly so they don’t dry out, and wipe down your work surface. This small routine means you can pick up right where you left off next time.
For long-term storage, keep these habits in mind: Store sealed paints in a cool, dark spot away from direct sunlight. Stand brushes upright in a jar, bristles facing up, once fully dry. Keep unfinished canvases flat or upright, protected from dust and moisture. Check out these storage ideas for under the bed.
Staying consistent matters more than painting for hours at once. Set a realistic schedule that fits your life, maybe two short sessions a week, so momentum never fades. Treating your hobby like a small standing appointment helps you actually finish pieces instead of leaving them half done.
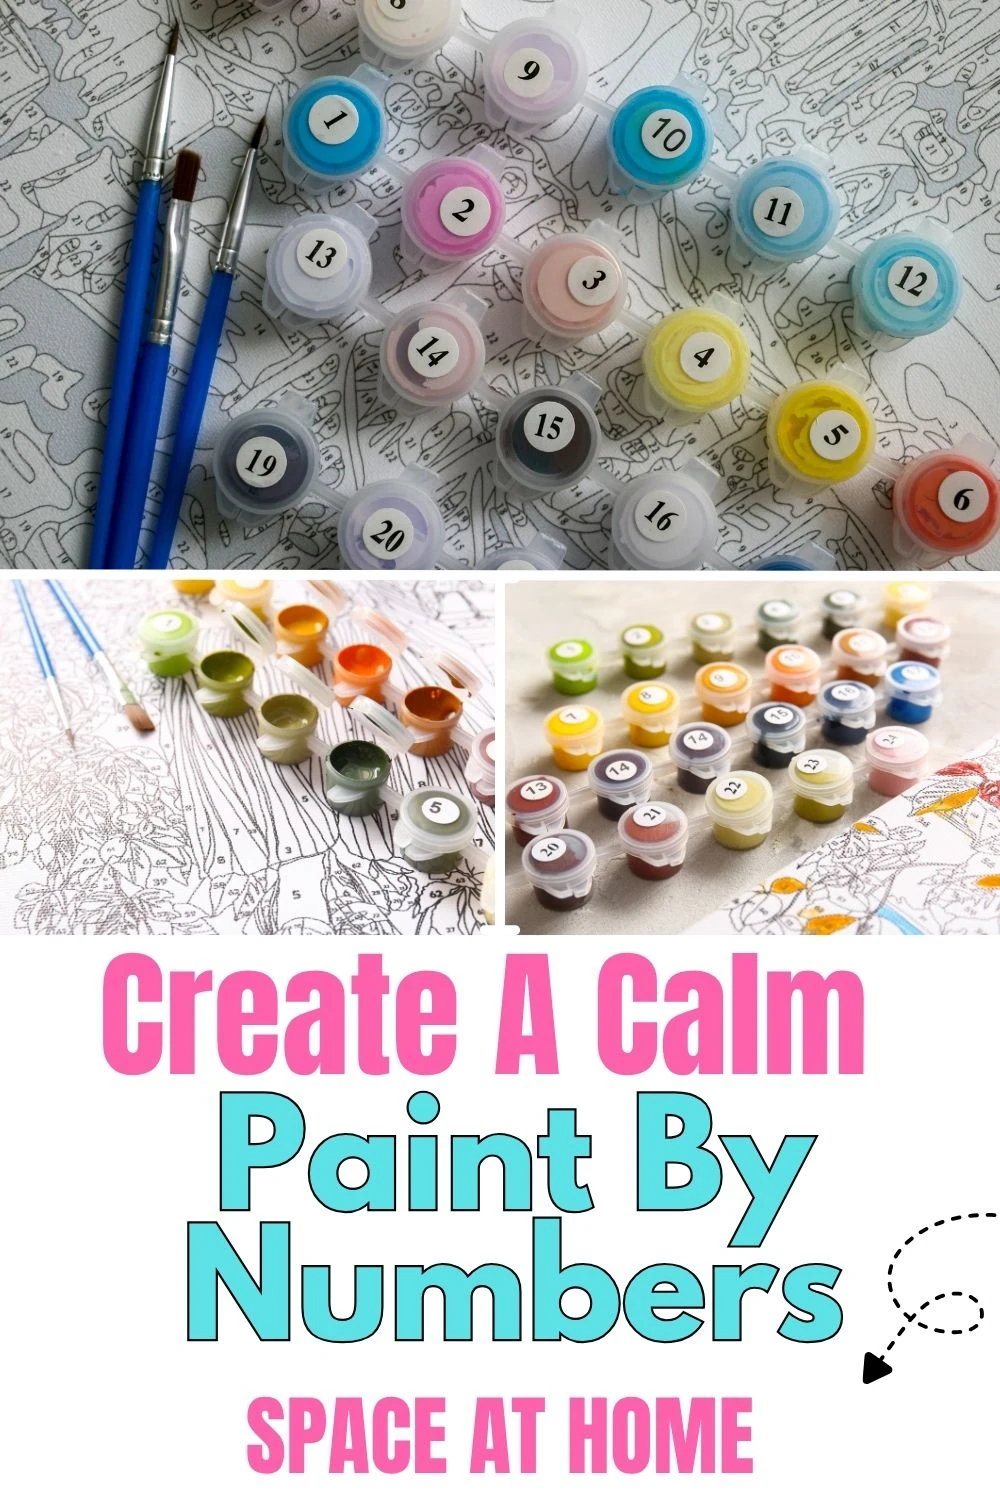
Here’s a fix worth remembering: if the printed numbers still peek through your finished work, let the first coat dry completely, then add a second thin layer of the same shade. One heavy coat tends to streak, while two light passes give a smooth, even look.
Once a canvas is done, display it proudly. Hanging your work where you can see it every day is a genuine motivator to start the next project. If you want designs with real artistic value, note that Davincified partners with working artists to create original artwork, which supports the creative community. Choosing quality kits keeps your finished pieces looking their best for years.